Configure User ID Collection in S1M
If your Author Portal platform uses an external SSO system, you must configure S1M to display the user ID sent in the Author Portal submission package.
Before you begin
About this task
Procedure
- In S1M, click .
- Click Configure This Site.
- Click step 8, Task Configuration.
- In the Submitted Manuscript Workflow table, locate the Admin Checklist / Admin row.
-
Under the Properties column for that row, click
edit addl fields.
 The table will be replaced by other options.
 -
From the new options that are displayed, click Advanced
View.
 The Advanced View options will be displayed
 -
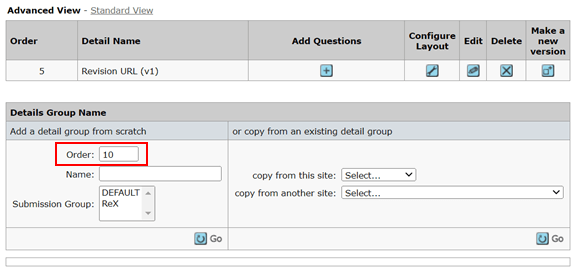
In the Details Group Name table, under Add a
detail group from scratch, enter the appropriate
Order in which the user ID information should be
displayed relative to other detail groups.
-
In the Name field, enter
User IDs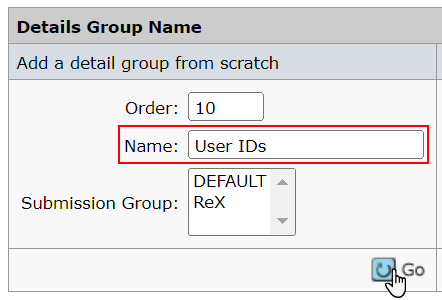
-
In the Submission Group: field, select all submission
groups.
User Ctrl + click to select multiple submission groups.
-
Click Go.
The User IDs row is added to the first table in the Advanced View.
-
In the first table, click Add Questions for the User IDs
row.
 A new window will open, in which you can create a new question.
 -
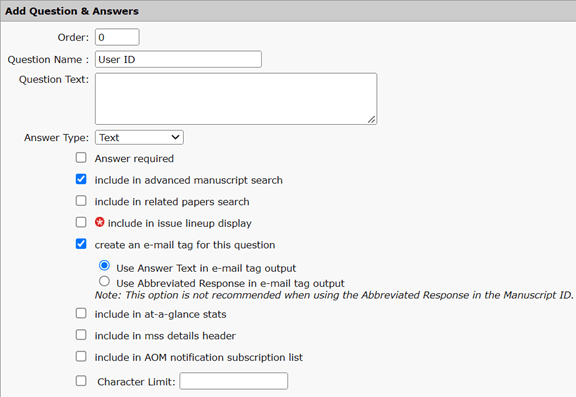
In the new window, fill in the Add Question &
Answers table as follows:
-
In the Answers table, do the following:
- Click the radio button under the Default column in the first row.
-
Set Answer Name to
text -
Set External Id to
REX-AF-UID-01x - Check the Active box

- Click Save.
- Click Close Window to close the current window.
-
Back on the Advanced View option, click
Configure Layout for the User IDs row.
A new window will open.
-
In the new window, do the following:
-
Set Number Rows to
2 -
Set Number Columns to
1 - Click Create Table.
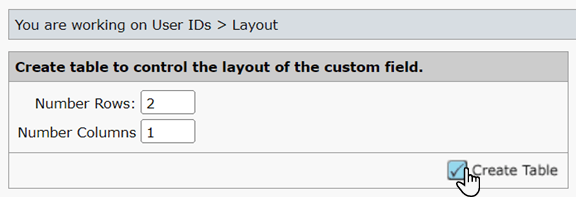 A table will appear above Create table to control the layout of the custom field.
 -
Set Number Rows to
- In the Table boder: field, click on.
-
In the new table, click the Cell Properties icon for Cell 1.
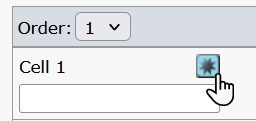 A Cell Properties panel will be displayed to the right of the new table. If you cannot see the Cell Properties panel, try maximizing the window.
 -
In the Cell Properties panel, configure Cell 1 as
follows:
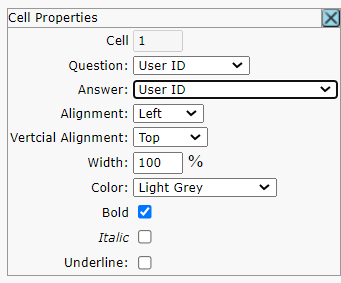
- Click the Cell Properties icon for Cell 2 and leave the default settings in place.
- Click X to close the Cell Properties panel.
- Click Preview as new UI to confirm that the table has been configured successfully.
-
Cick the icon to save the cell properties.
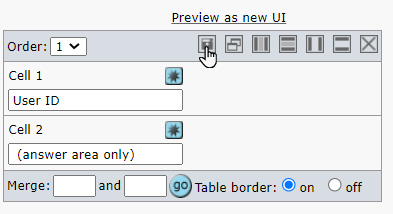
- Close the layout configuration window.
- From , click Flush Cache.