Configure the Editor Only File Designation in S1M
Before you begin
You must have access to the S1M Configuration
Center to perform this task.
Procedure
-
In S1M, click .
-
Click Configure This Site.
-
Click step 5, Attributes.
-
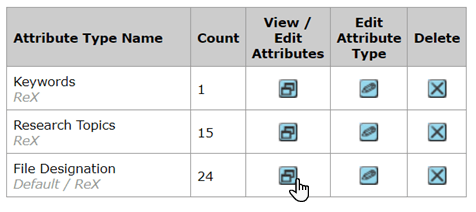
In the first table, click View / Edit Attributes in the
File Designation row.
The Edit Attributes options will open in a new
window.
-
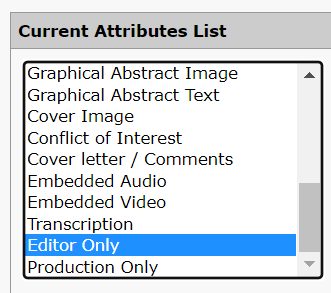
In the new window, check if the Current Attributes List
contains an Editor Only attribute.
- If the attribute has not already been added, do the following to add it:
- In the Add Child named field, enter
Editor Only.
- Click add.
- Check the Current Attributes List. If
Editor Only
appears as .....Editor Only, then in the
Move the selected attribute to the location in the
list directly under field, select the attribute that
should immediately precede Editor Only and click
move.
- Click Save near the bottom of the
window.
- If the attribute has already been added or you added it by performing
the above steps, click Close Window.
The Edit Attributes window will
close.
-
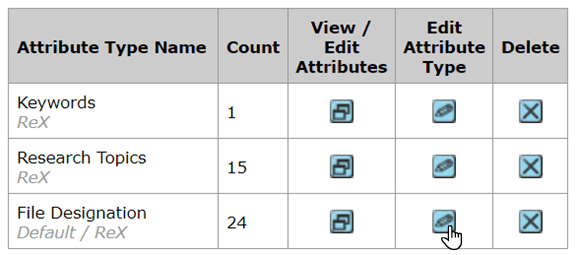
Click Edit Attribute Type in the File Designation
row.
-
Scroll down to the last table on the page and configure the Editor Only row as
follows:
Make sure that the only boxes checked are those under the
Supp.
Files not for Review and
Copied to
Revision columns.
Important: Make sure to uncheck
the box under the Visible to Author column, so that
the report is visible only to editors and not to authors.
-
Click Save.
-
Click .
-
Click Flush Cache.
Documentation Feedback
We value your feedback!
Please use this form to send us your comments and suggestions regarding the ReX Submission documentation. For other enquiries, please visit the help page.
 The Edit Attributes options will open in a new window.

