Configure Notification Reports
Procedure
-
Log in to S1M.
-
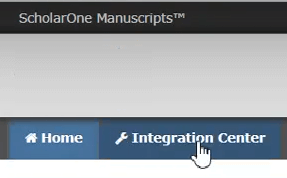
Click Integration Center.
-
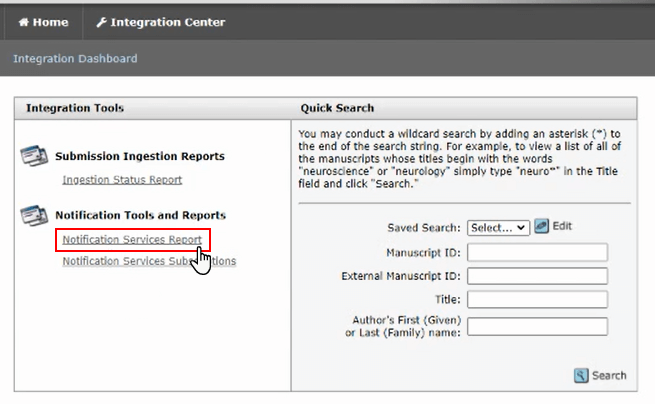
Under , click Notification Services Report.
-
On the next screen, under Notification Services Message Delivery Monitoring - Filters, do the following:
For all of the following fields, you can use Ctrl + click to select multiple values in the same field.
-
In the Consumer Journal: field, select the journals for which the report should be generated.
-
In the Consumer: field, select the name of your Author Portal platform, for example,
egp_rex.
-
In the Endpoint: field, select the required S1M environments, PROD, IMPL, or both.
-
In the Subscription: field, select the type of notification to include in the report.
For example, to create a report for notifications sent for deleted submissions, select the subscription name you provided for that type of notification, such as Manuscript deleted.
-
In the Message Status: field, select
Succeeded.
-
In the Subscription Area: field, select
System Events.
-
Under Created Date:, optionally enter a custom date range that the report should cover.
If a custom date range is not entered, by default the report will be generated for notifications sent in the previous 24 hours.
-
Click Search.
Documentation Feedback
We value your feedback!
Please use this form to send us your comments and suggestions regarding the ReX Submission documentation. For other enquiries, please visit the help page.

